To create a System Report, go to Advanced Settings

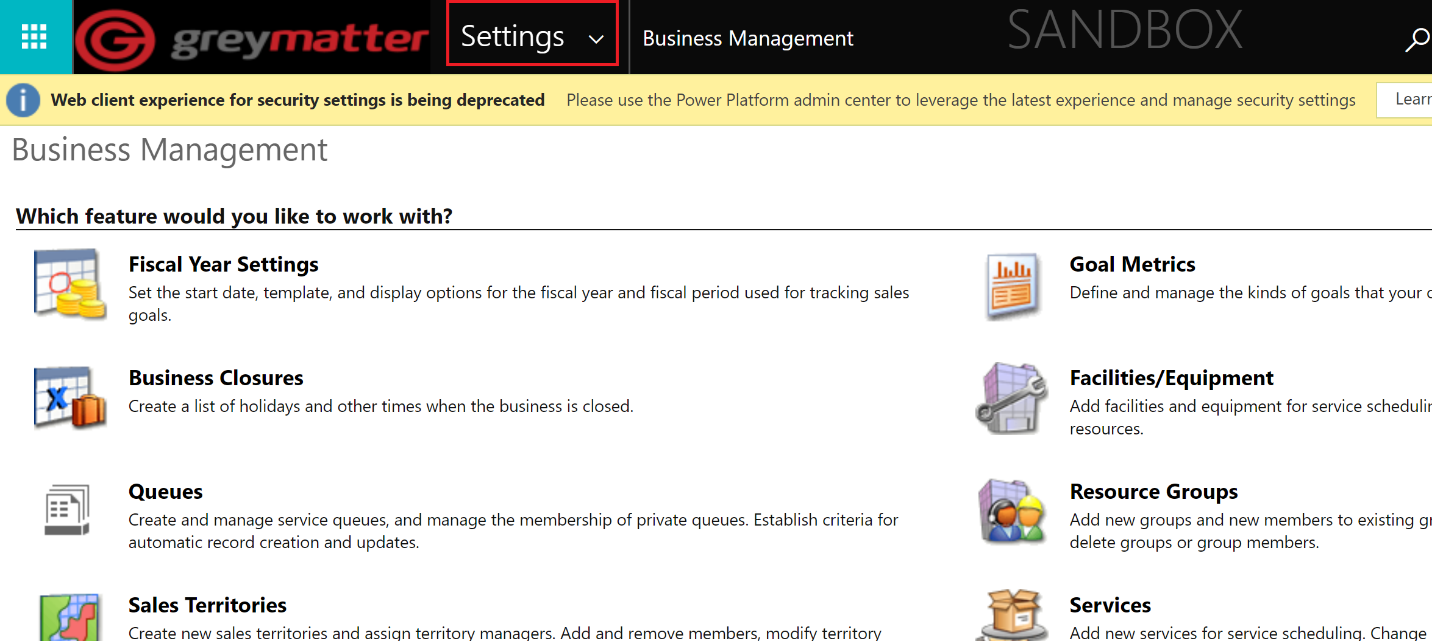
Once in Advanced Settings, click on Settings at the top to go to Customizations


From Customizations, select Customize the System, this will open a separate window.

Once in the Default Solutions window, under Components, click on Reports.

On the Reports page, click on New to create a report. This will open the Report Creation wizard in a separate window.

From this Report Creation wizard click on Report Wizard.

For this example we will create a report from scratch, so I selected Start a new report.

The wizard will prompt you to enter a name for your report and to choose a primary record type. Click next.

Now we define the records we want to include in our report. I will include all the contacts whose Active Contact Type equals Registered Student for this example. Click next.

Now we need to define the layout of the report. We will group the records by Faculty and display the Full Name, Email, Program Enrolled and the Gender of the registered student.

The basic format of the report can contain a table or a chart and a table. We will choose the Table only reporting format, since we did not select any numeric field from the Contact Entity. Click Next.

In the report summary, click Next and then click Finish.

The report has been created. To view it, click on Run Report.

This is the result of the report we’ve created.

Once in Advanced Settings, click on Settings at the top to go to Customizations
From Customizations, select Customize the System, this will open a separate window.
Once in the Default Solutions window, under Components, click on Reports.
On the Reports page, click on New to create a report. This will open the Report Creation wizard in a separate window.
From this Report Creation wizard click on Report Wizard.
For this example we will create a report from scratch, so I selected Start a new report.
The wizard will prompt you to enter a name for your report and to choose a primary record type. Click next.
Now we define the records we want to include in our report. I will include all the contacts whose Active Contact Type equals Registered Student for this example. Click next.
Now we need to define the layout of the report. We will group the records by Faculty and display the Full Name, Email, Program Enrolled and the Gender of the registered student.
The basic format of the report can contain a table or a chart and a table. We will choose the Table only reporting format, since we did not select any numeric field from the Contact Entity. Click Next.
In the report summary, click Next and then click Finish.
The report has been created. To view it, click on Run Report.
This is the result of the report we’ve created.

