Dataverse Search is a feature that allows a user to search for data and have it displayed sorted by relevance, based in a number of factors such as number of words that matches the query.
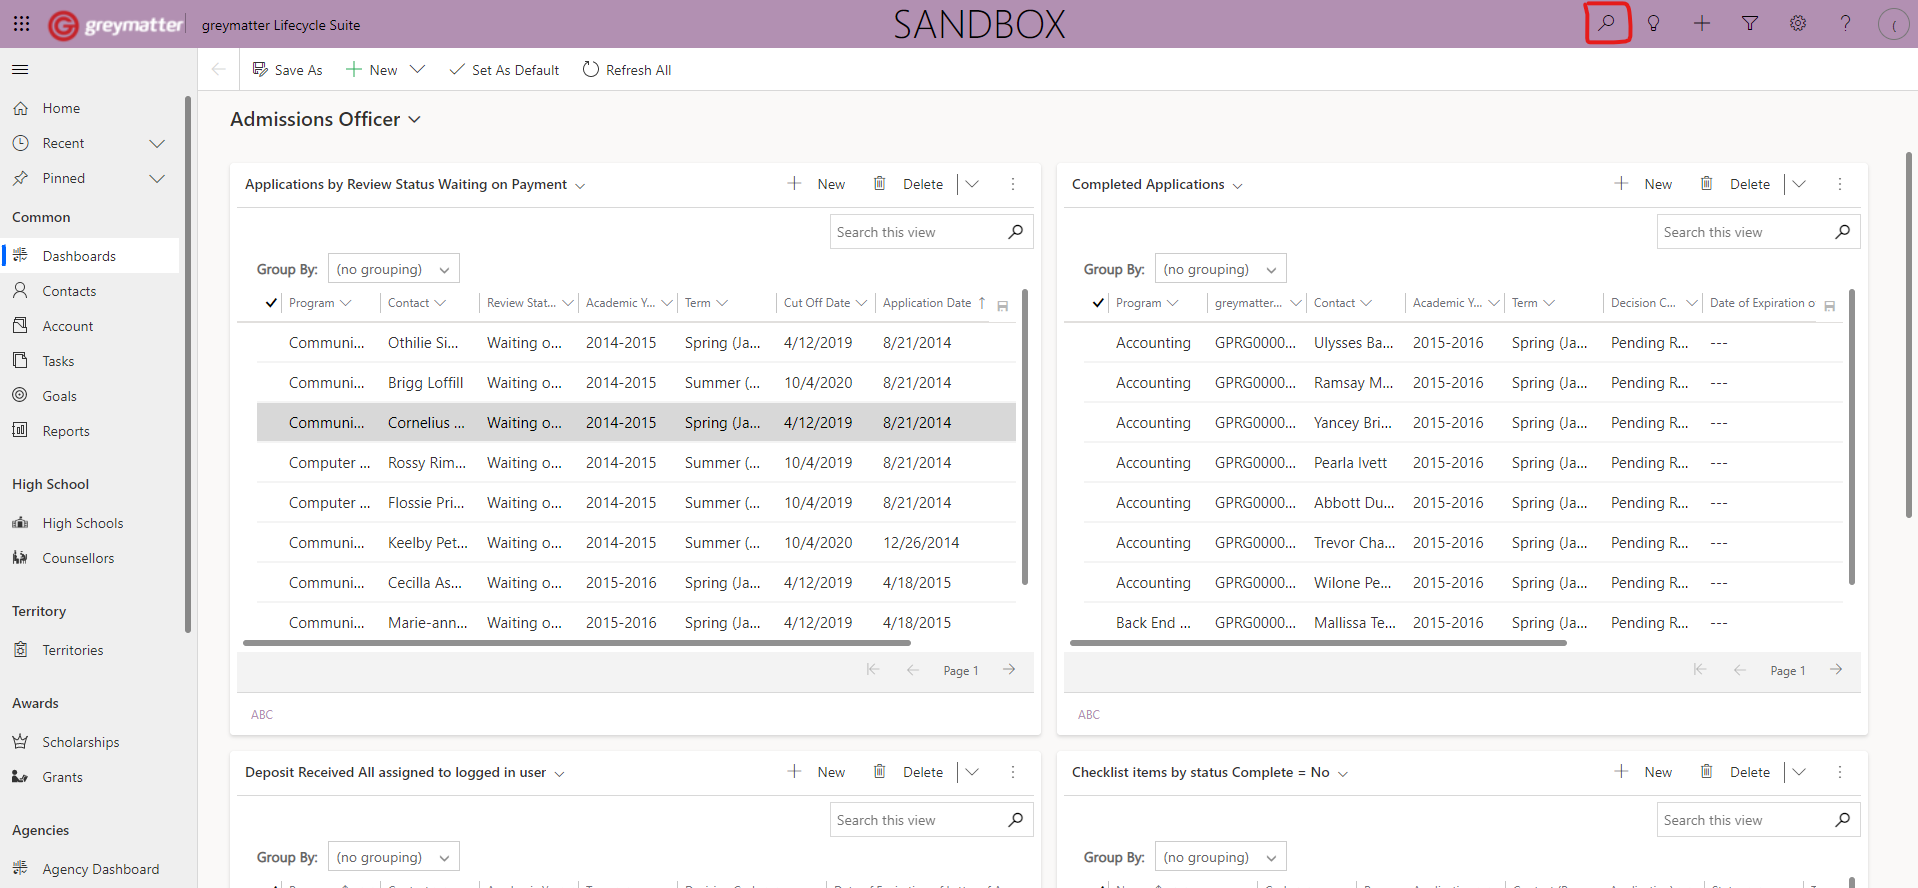
On the current environment that I am working on, Dataverse Search is not enabled. There is only the option to use quick search (Magnifying glass on the ribbon at the top).

To use Dataverse Search, we need to enable it in the Admin Center. Go to https://admin.powerplatform.microsoft.com/ and click on Environments.

In the Environment section, select the environment on which you want to enable relevance search.

Click on Settings.

From Settings, expand the Product drop-down and click on Features.

From the features Settings, turn on the Dataverse Search toggle and save.

There is the option to improve relevance search by sharing search analytics with Microsoft. For this article, we will skip this option.
The next step is to select the searchable tables for Dataverse Search.
Go to Power Apps https://make.powerapps.com/ and select Solutions.

Select the Solution you want to make changes in and click on Overview.

From Overview, click on Manage Search Index.

When you select a table to be indexed for Dataverse search, the number of columns that will be added to the index is displayed.

For our example, the Account table already has fields added to the Dataverse Search index. This is added by default for the Account table.
After enabling Dataverse Search on our example environment, we can see the search field on the ribbon.

These are the records retrieved after searching for the word “Test”

On the current environment that I am working on, Dataverse Search is not enabled. There is only the option to use quick search (Magnifying glass on the ribbon at the top).
To use Dataverse Search, we need to enable it in the Admin Center. Go to https://admin.powerplatform.microsoft.com/ and click on Environments.
In the Environment section, select the environment on which you want to enable relevance search.
Click on Settings.
From Settings, expand the Product drop-down and click on Features.
From the features Settings, turn on the Dataverse Search toggle and save.
There is the option to improve relevance search by sharing search analytics with Microsoft. For this article, we will skip this option.
The next step is to select the searchable tables for Dataverse Search.
Go to Power Apps https://make.powerapps.com/ and select Solutions.
Select the Solution you want to make changes in and click on Overview.
From Overview, click on Manage Search Index.
When you select a table to be indexed for Dataverse search, the number of columns that will be added to the index is displayed.
For our example, the Account table already has fields added to the Dataverse Search index. This is added by default for the Account table.
After enabling Dataverse Search on our example environment, we can see the search field on the ribbon.
These are the records retrieved after searching for the word “Test”

